As the children are getting older, they are starting to ask for more elaborate things for their birthdays and Christmas. For Camden's 9th birthday, we told him that we if he did not have a "friend" party we would take him to New York City with just us. Well, he didn't like that, he wanted his brother to come too! So a few weeks before Camden's birthday, over our spring break, we traveled to NYC. The photos below in this post, are pictures I took with just our family and a few neighbor friends who joined us for a small celebration.

This cookie cake was made by one of my dad's friends at work. It was delicious!

Camden's birthday shirt is from Etsy and his cake was inspired by a pin I found on Pinterest. Find links on my Minecraft pinboard HERE. I used several of the Minecraft legos we had as accessories to the cake display.

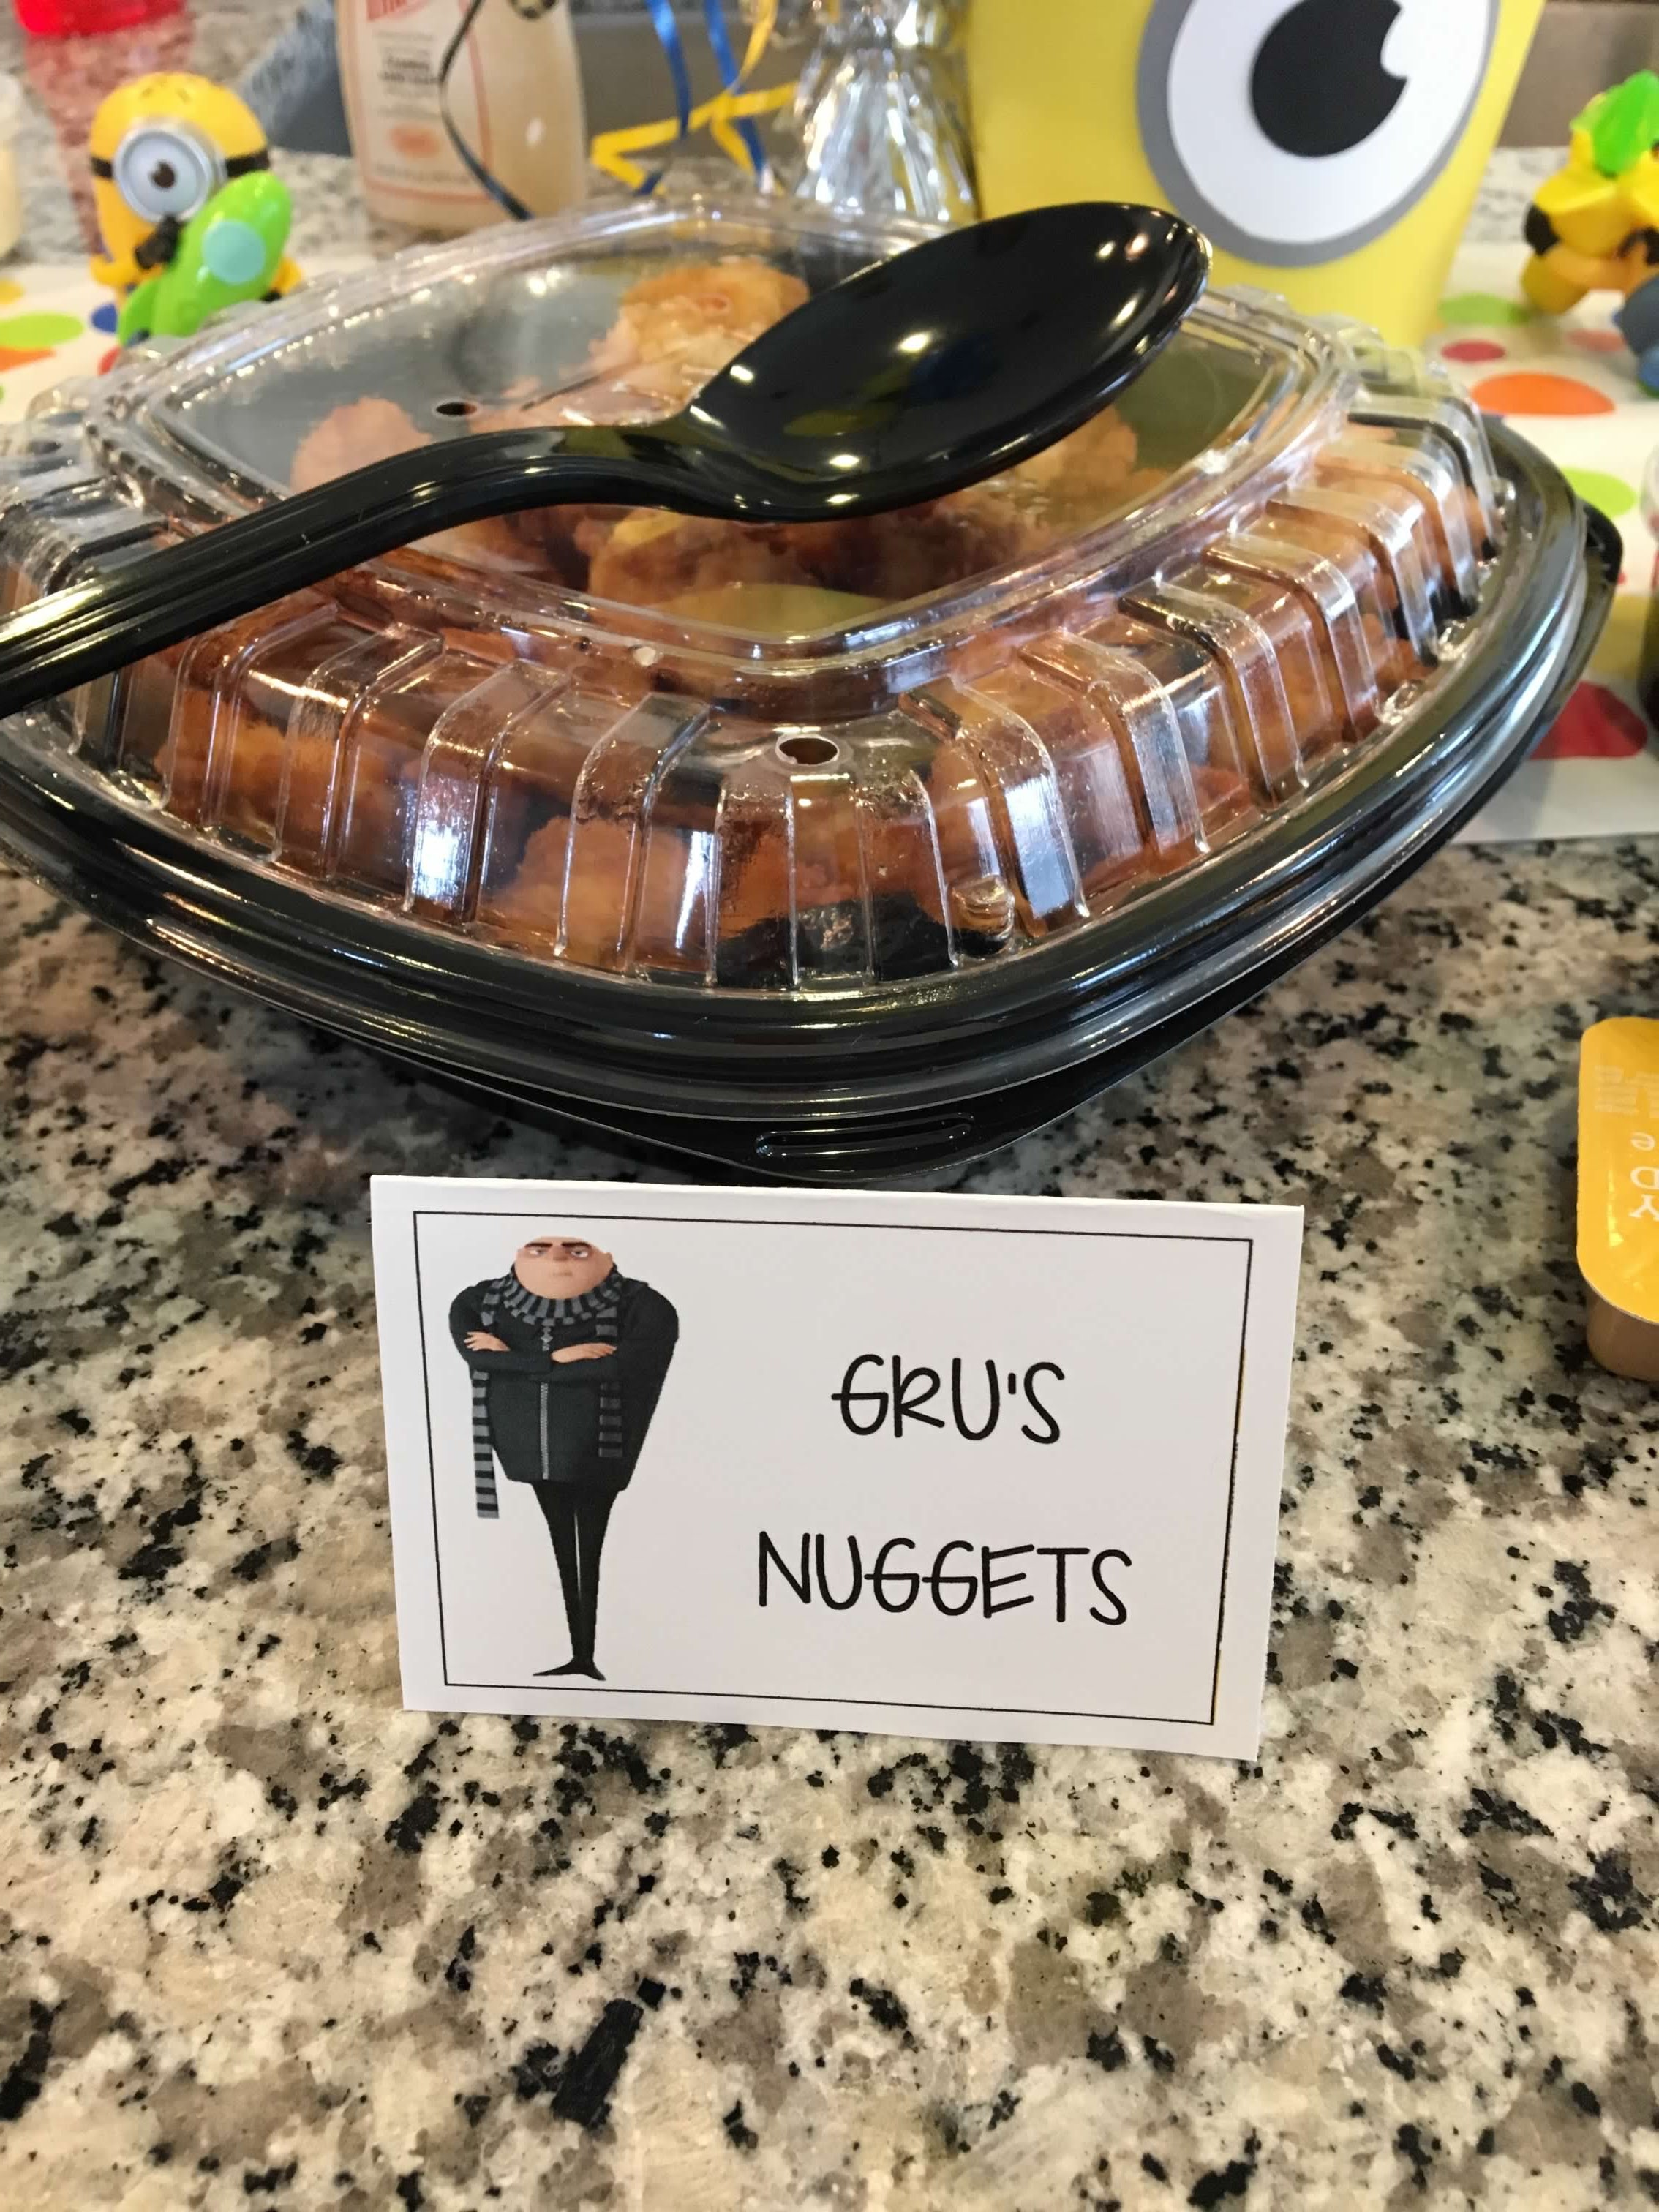
I printed the food labels from a link on Pinterest.


Party masks from Party City. Gosh I should've written all these things down.
I promise I will be better next time.

As you can see, everyone got in on the mask wearing fun! Hopefully in one of my future posts, I can tell you about our trip to NYC. It was a memorable time and hopeful not the last trip we will take to NYC.
Michelle